Explanation
1420
0
The most common way for a user to communicate information from a Web browser to the server is through
a form. XHTML provides tags to generate the commonly used objects on a screen form. These objects are
called controls or widgets. There are controls for single-line and multiple-line text collection, checkboxes,
radio buttons, and menus, among others. All control tags are inline tags.
The <form> Tag:
All of the controls of a form appear in the content of a <form> tag. A block tag, <form>, can have several different attributes, only one of which, action, is required. The action attribute specifies the URL of the application on the Web server that is to be called when the user clicks the <i> Submit button</i>. Our examples of form elements will not have corresponding application programs, so the value of their action attributes will be the empty string (""). The <input> Tag: Many of the commonly used controls are specified with the inline tag <input>, including those for text, passwords, checkboxes, radio buttons, and the action buttons Reset, Submit, and plain.
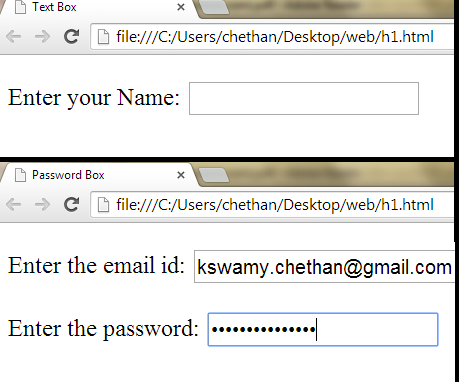
Text Box
Password Box
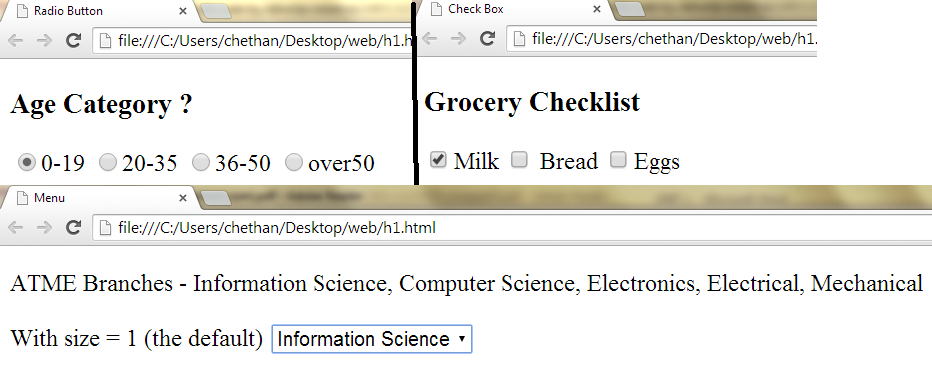
Radio Button
Check Box
The <select> Tag:
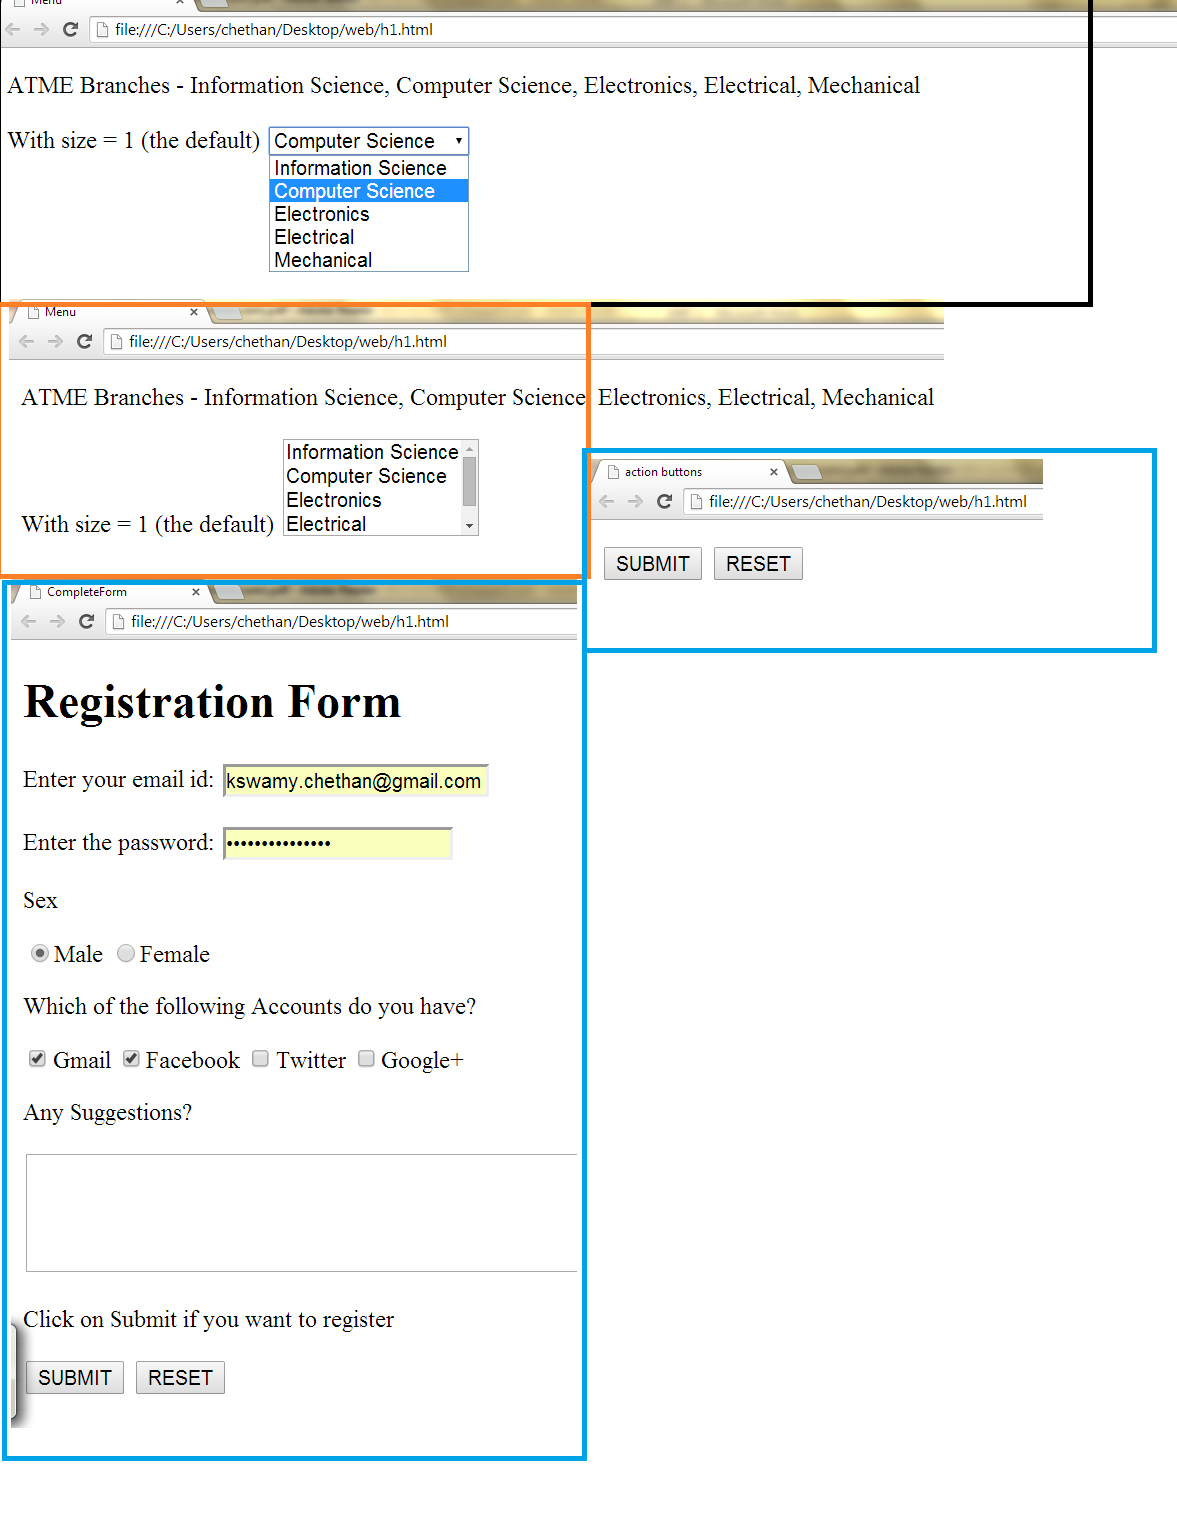
If you give <select name = "branches" size = “3”>, then you will get a scroll bar instead of drop down menu. It is as shown in the output given below:
The <textarea> Tag:
The Action Buttons:
The Reset button clears all of the controls in the form to their initial states. The Submit button has two actions: First, the form data is encoded and sent to the server; second, the server is requested to execute the server-resident program specified in the action attribute of the <form> tag. The purpose of such a server-resident program is to process the form data and return some response to the user. Every form requires a Submit button. The Submit and Reset buttons are created with the <input> tag.
Example of a Complete Form:
The <form> Tag:
All of the controls of a form appear in the content of a <form> tag. A block tag, <form>, can have several different attributes, only one of which, action, is required. The action attribute specifies the URL of the application on the Web server that is to be called when the user clicks the <i> Submit button</i>. Our examples of form elements will not have corresponding application programs, so the value of their action attributes will be the empty string (""). The <input> Tag: Many of the commonly used controls are specified with the inline tag <input>, including those for text, passwords, checkboxes, radio buttons, and the action buttons Reset, Submit, and plain.
Text Box
- It is a type of input which takes the text.
- Any type of input can be created using <input>
- The type attribute indicates what type of input is needed for the text box, the value should be given as text.
- For any type of input, a name has to be provided which is done using name attribute.
- The size of the text can be controlled using size attribute.
- Every browser has a limit on the number of characters it can collect. If this limit is exceeded, the extra characters are chopped off. To prevent this chopping, maxlength attribute can be used. When maxlength is used, users can enter only those many characters that is given as a value to the attribute.
<html>
<head>
<title>Text Box</title>
</head>
<body>
<form action = " ">
<p> <label>Enter your Name:
<input type = "text" name = "myname" size = "20" maxlength = "20" />
</label> </p>
</form>
</body>
</html>
Password Box
- If the contents of a text box should not be displayed when they are entered by the user, a password control can be used.
- In this case, regardless of what characters are typed into the password control, only bullets or asterisks are displayed by the browser.
<html>
<head>
<title>Password Box</title>
</head>
<body>
<form action = " ">
<p> <label>Enter the email id:
<input type = "text" name = "myname" size = "24" maxlength = "25" /> </label> </p>
<p> <label>Enter the password:
<input type = "password" name = "mypass" size = "20" maxlength = "20" />
</label> </p>
</form>
</body>
</html>
Radio Button
- Radio buttons are special type of buttons which allows the user to select only individual option
- Radio buttons are created using the input tag with the type attribute having the value radio.
- When radio buttons are created, values must be provided with the help of value attribute.
- All the radio buttons which are created would have same name. This is because the radio buttons are group elements.
- If one of the radio buttons has to be selected as soon as the web page is loaded, checked attribute should be used. The value also would be checked.
<html>
<head>
<title>Radio Button</title>
</head>
<body>
<h3>Age Category ?</h3>
<form action = " ">
<p>
<label><input type="radio" name="age" value="under20" checked = “checked”/>0-19 </label>
<label><input type="radio" name="age" value="20-35"/>20-35</label>
<label><input type="radio" name="age" value="36-50"/>36-50 </label>
<label><input type="radio" name="age" value=" over50"/>over50</label>
</p>
</form>
</body>
</html>
Check Box
- Check box is a type of input using which multiple options can be selected.
- Check box can also be created using the <input> tag with the type having the value “checkbox”.
- During the creation of check box, the value should be provided using the value attribute.
- All the checkbox which are created would have the same name because they are group elements.
- If one of the check box have to be selected as soon as the page is loaded, checked attribute should be used with the value checked.
<html>
<head>
<title>Check Box</title>
</head>
<body>
<h3>Grocery Checklist</h3>
<form action = " ">
<p>
<label><input type="checkbox" name="groceries" value="milk" checked=”checked”/>Milk</label>
<label><input type="checkbox" name=" groceries" value="bread"/> Bread </label>
<label><input type="checkbox" name=" groceries" value="eggs"/>Eggs</label>
</p>
</form>
</body>
</html>
The <select> Tag:
- Menu items is another type of input that can be created on the page.
- To create the menu item, <select> tag is used.
- To insert the item in the menu, <option> tag is used.
<html>
<head>
<title> Menu </title>
</head>
<body>
<p> ATME Branches - Information Science, Computer Science, Electronics, Electrical, Mechanical </p>
<form action = "">
<p> With size = 1 (the default)
<select name = "branches">
<option> Information Science </option>
<option> Computer Science </option>
<option> Electronics </option>
<option> Electrical </option>
<option> Mechanical </option>
</select>
</p>
</form>
</body>
</html>
If you give <select name = "branches" size = “3”>, then you will get a scroll bar instead of drop down menu. It is as shown in the output given below:
The <textarea> Tag:
- Text area is a type of input using which multiple statements can be entered.
- Text area is created using <textarea> tag.
- Text area should have the name.
- During the creation of text area, it should be mentioned how many sentences can be entered. This is done using rows attribute.
- Similarly, it should also be mentioned how many characters can be entered in a line. This is done using cols attribute.
- If the value given to rows is exceeded i.e. if users enter sentences more than specified, the scroll bar automatically appears.
<html>
<head>
<title> text area </title>
</head>
<body>
<form action=" ">
<h3> Enter your comments</h3>
<p>
<textarea name="feedback" rows="5" cols="100">
(Be Brief and concise)
</textarea>
</p>
</form>
</body>
</html>
The Action Buttons:
The Reset button clears all of the controls in the form to their initial states. The Submit button has two actions: First, the form data is encoded and sent to the server; second, the server is requested to execute the server-resident program specified in the action attribute of the <form> tag. The purpose of such a server-resident program is to process the form data and return some response to the user. Every form requires a Submit button. The Submit and Reset buttons are created with the <input> tag.
<html>
<head>
<title> action buttons </title>
</head>
<body>
<form action=" ">
<p>
<input type="SUBMIT" value="SUBMIT"/>
<input type="RESET" value="RESET"/>
</p>
</form>
</body>
</html>
Example of a Complete Form:
<html>
<head>
<title> CompleteForm</title>
</head> <body>
<h1>Registration Form</h1>
<form action=" ">
<p> <label>Enter your email id:
<input type = "text" name = "myname" size = "24" maxlength = "25" />
</label> </p>
<p> <label>Enter the password:
<input type = "password" name = "mypass" size = "20" maxlength = "20" />
</label> </p>
<p>Sex</p>
<p>
<label><input type="radio" name="act" value="one"/>Male</label>
<label><input type="radio" name="act" value="two"/>Female</label>
</p>
<p>Which of the following Accounts do you have?</p>
<p>
<label><input type="checkbox" name="act" value="one"/>Gmail</label>
<label><input type="checkbox" name="act" value="two"/>Facebook</label>
<label><input type="checkbox" name="act" value="three"/>Twitter</label>
<label><input type="checkbox" name="act" value="four"/>Google+</label>
</p>
<p> Any Suggestions?</p>
<p> <textarea name="feedback" rows="5" cols="100"> </textarea> </p>
<p>Click on Submit if you want to register</p>
<p> <input type="SUBMIT" value="SUBMIT"/>
<input type="RESET" value="RESET"/>
</p>
</form>
</body>
</html>